Flaring and Forming Copper-Nickel Brake Lines

When it comes to replacing brake lines, there's a lot of information to gather: what materials are best to work with, how much brake line is necessary to replace a vehicle's lines, what sort of flare you'll need to create at the end of your line, etc.. While we aren't going to show the whole replacement process just yet, in this post we'll tell you everything you need to know about flaring a brake line out for your brake line replacement job.

First, an overview. Flaring is a forming process that shapes the end of a tube precisely and uniformly to interface with the tube nuts and fittings. This might sound tricky, but mechanics and technicians can pick up dies and flaring tools that standardize and streamline flare fabrication. The reason we flare our brake lines is so that they will attach snugly to the brake system assemblies in your vehicle, and the type of flare you fabricate depends on the brake line fittings found in a given vehicle's hydraulic system. Most European cars are manufactured and fitted with bubble flares (also known as DIN or ISO flares), whereas in the U.S. double flares (also known as SAE or Inverted flares) are more common. There's a good reason for this: Double flares can handle more pressure and thus last longer with less risk of rupturing. Of course, bubble flares wouldn't be common in Europe if they weren't just as safe, but double flares are the standard in the U.S.
Even with precise forming tools, fabricating a flare on the end of a brake line is sometimes easier said than done. Most lines today are fabricated with metals and alloys that are difficult to form intricate shapes with; steel or stainless-steel brake lines, for example, require a great deal of force to form a flare. The flaring process with the steel brake line must also be controlled carefully to avoid splitting or crushing the end of the brake tubing. For this reason, mechanical and hydraulic flaring tools are common to make flaring easier. Even so, trying to flare steel of any type is tricky. 4LTL prefers Copper-nickel alloy for their brake line replacement material. The alloy is strong, ductile, and malleable, so it's perfect for forming flares on brake lines.
To flare a line, begin by precisely measuring the length of the factory line. Add about 1/2 inch on either end to accommodate the flare. Use a cutter wheel-style tubing cutter to cut the new line to the precise length needed. Check the cut end to be sure that it is perfectly square to the long dimension of the tubing, then use a brake tubing reamer to remove any burrs and ridges from both the inside and outside of the cut end.
Before moving forward, place tube nuts matching the fittings on the brake assemblies (calipers, master cylinder, etc.) over the line and properly align them with the threads facing outward toward the flare. After the tube nuts are on the line, the flare can be made using a flaring tool of choice. Press the tool's 3/16" punch, then switch out the punch for the 45-degree 3/16" punch and press again. This will form a double flare! After forming the flare, align the tube nut threads with the assembly into which they are threading and snug the tube nuts.
Flaring is considerably easier with Copper-nickel tubing. Steel tubing is strong, durable, and can withstand a lot of wear and tear, but it is inflexible and difficult to work when it comes to fabricating flares. Copper-nickel brake lines, by contrast, require considerably less force to form a leak-proof seal than either steel or stainless.
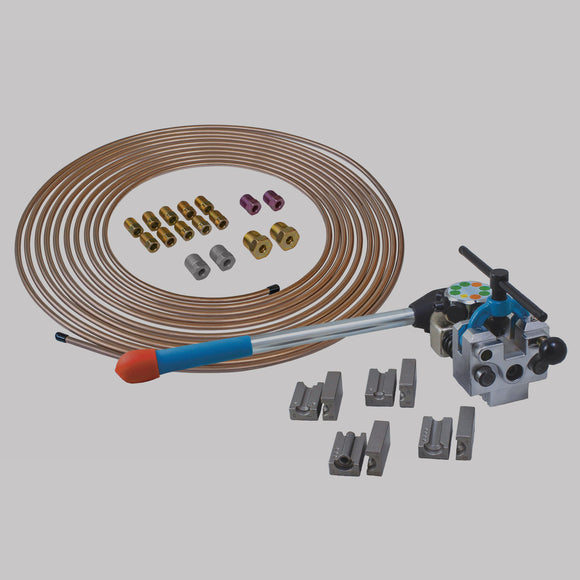
Without the tools and dies at our disposal, flaring would be considerably more difficult. 4LTL's team prefers the Universal Hydraulic set for flaring for two reasons: first because it's easy to operate and can be worked with just one hand, and second because there are dies for every size of brake line and flare. Of course, the average DIY mechanic might not need all the bells and whistles for their flaring tool, and that's okay. 4LTL offers another flaring tool set which offers the same professional capability as the universal set, just tailored to a smaller set of tubing diameters.
Did you enjoy reading our blog? If so, let us know by using promo code: BLOG10 at checkout and get 10% off of your order!
As always, best of luck on your next project,
The 4LTL team

